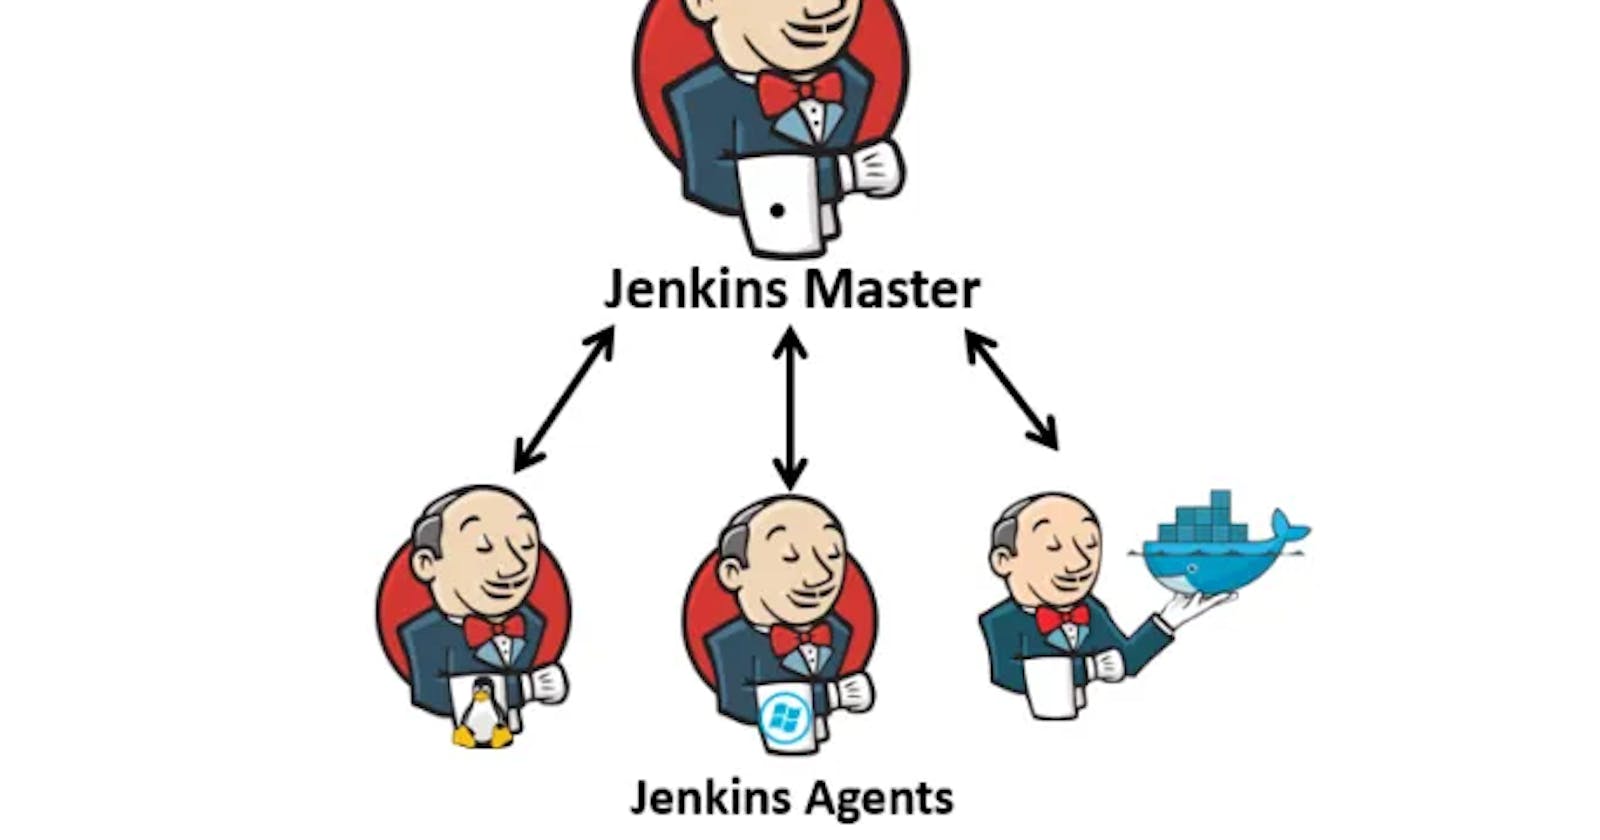


-Jenkins Master (Server)
Jenkins Master (Server) is the core component of a Jenkins installation. It manages the build jobs, schedules, and distributes build tasks to the Jenkins Agents (Nodes) for execution. The Jenkins Master also stores the configuration settings, plugins, and build histories.
- Jenkins Agent
Jenkins Agent, also known as Jenkins Node, is a worker machine that executes build jobs dispatched by the Jenkins Master. Agents can be set up on different operating systems and architectures to perform diverse tasks, making Jenkins highly flexible and scalable.
Agents may be connected to the Jenkins controller using either local or cloud computers. It requires a Java installation and a network connection to the Jenkins controller.
Pre-requisites
Assuming a fresh Ubuntu 22.04 Linux installation, setting up a Jenkins agent involves installing Java (matching the version on the Jenkins master server) and Docker. It's crucial to manage rights, permissions, and ownership for Jenkins users when creating agents.
-Task-1: Setting Up a Jenkins Agent
🔻Create an AWS Instance
Begin by launching a new AWS EC2 instance. This instance will serve as the agent node connected to the Jenkins master. Follow these steps:
Log in to your AWS Management Console.
Navigate to the EC2 dashboard.
Click on "Launch Instance" to create a new virtual machine.
🔻Configure EC2 Instance
During the instance configuration process:
Choose an Amazon Machine Image (AMI), preferably a recent version of Ubuntu.
Select an instance type based on your requirements.
Configure instance details, including the number of instances, network settings, and storage.
🔻Add Security Group
Ensure that your security group allows SSH access. Add an inbound rule for SSH (port 22) to allow connections from your Jenkins master server.
🔻Launch Instance
Review your configurations and launch the instance. AWS will prompt you to select or create a key pair for connecting to the instance securely. Save the private key file (.pem) as you will need it to connect via SSH.
🔻Connect EC2 Instance to Jenkins Master
Once the EC2 instance is running, use SSH to connect to it from your Jenkins master server. Use the private key you saved during the instance launch. The command will look like this:
ssh -i /path/to/private-key.pem ubuntu@ec2-instance-ip
🔻Install Java and Docker & Docker-Compose
On the EC2 instance, install Java, Docker & Docker-Compose to ensure compatibility with the Jenkins master server. Ensure that the Java version matches the one installed on the master.
🔻Add Agent Node in Jenkins UI
In the Jenkins UI, navigate to "Manage Jenkins" > "Manage Nodes and Clouds."
Click on "New Node" to add a new agent.
Enter a name for the agent, select "Permanent Agent," and click "OK."
🔻Configure Agent Node
Set the number of executors (parallel job executions) for the agent.
In the "Remote root directory" field, specify the working directory on the agent.
Under "Launch method," choose "Launch agent via SSH."
🔻Add Credentials
In the "Credentials" section, click on "Add" to provide SSH credentials for connecting to the agent. Use the private key associated with the EC2 instance.
🔻Save and Connect
Save the agent configuration, and Jenkins will attempt to connect to the agent using the provided SSH credentials. Once connected, the agent status should change to "Online."
-Task-2: Running Jobs on the New Agent
Now that the agent is set up, you can run previous jobs on it, optimizing workload distribution. Follow these steps
🔻Use Labels for Agent
Edit the Jenkins job you want to run on the new agent.
Under the "General" section, check the option "Restrict where this project can be run."
Enter the label assigned to the new agent.
🔻Trigger Builds on Agent
Save the job configuration.
Manually trigger a build or wait for the next scheduled build.
Check the build console output to confirm that the job is being executed on the new agent.
By completing both tasks, you've successfully set up a Jenkins agent on an AWS EC2 instance, connected it to the master server, and configured jobs to run on the new agent, enhancing the scalability and efficiency of your Jenkins environment.
😊 Happy learning!